
Table of Contents
- Introduction
- Pre-Planning: 3-6 Months Before
- Initial Sorting: 1-2 Months Before
- Valuation and Selling: 3-4 Weeks Before
- Donations and Disposal: 2 Weeks Before
- Final Clean-Out: 1 Week Before
- Day of the Clean-Out
- Conclusion
- FAQs
- About the Author
Introduction
Estate clean-outs are a daunting task, often laden with emotional weight and logistical challenges. Whether you’re an executor of an estate, a family member, or a friend helping out, the process of sorting through a loved one’s belongings can be overwhelming. It’s not just about the physical items, but the memories and emotions they evoke. However, with thoughtful planning and organization, the burden can be significantly eased, allowing for a respectful and efficient clean-out process.
This guide is designed to navigate you through the estate clean-out process with a detailed, step-by-step timeline for success. From pre-planning stages to the final day of the clean-out, each phase is crucial for a smooth transition. Our goal is to provide you with actionable advice and strategies to manage the clean-out effectively, respecting both the memory of the departed and the needs of the living. Let’s embark on this journey with compassion and efficiency at the forefront.
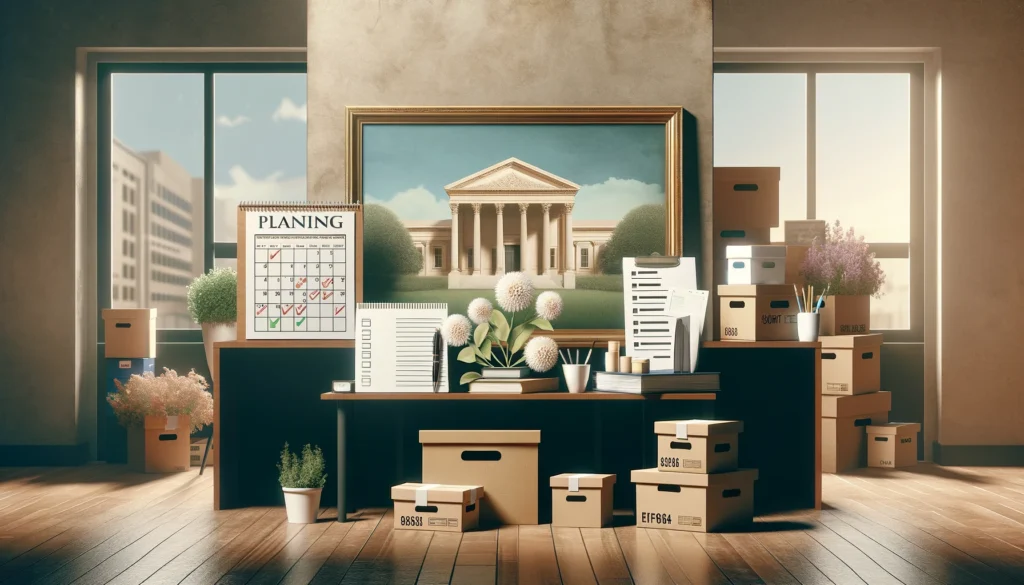
Pre-Planning: 3-6 Months Before
The journey of an estate clean-out ideally begins months before any items are physically moved. This phase is crucial for laying the groundwork for a smooth process, involving documentation, legal considerations, and emotional preparation.
Understanding Legal Documents and Permissions
Start by ensuring all legal documents are in order. This includes wills, trusts, and any other documents that outline the deceased’s wishes. You may need to consult with an attorney to clarify the executor’s responsibilities and to understand the legal framework for distributing assets.
Inventory and Documentation
Creating a comprehensive inventory is a foundational step in pre-planning. Documenting each item, especially those of significant value or sentimental worth, helps in decision-making down the line. Use this time to photograph items and compile a list that can be referenced by all involved parties.
Emotional Preparation
The emotional aspect of pre-planning cannot be overstated. Allow yourself and other family members to start the grieving process. Recognizing the emotional toll this task can take is essential for managing expectations and maintaining mental health throughout the process.
Setting Goals and Expectations
Discuss and set realistic goals with all involved parties. Determine what needs to be kept, sold, donated, or disposed of. Setting clear expectations early can prevent misunderstandings and conflicts later on.
Seeking Professional Advice
Consider consulting professionals who specialize in estate clean-outs. This could include appraisers, professional organizers, or junk removal services like Lug Out Junk Removal. Their expertise can be invaluable in planning an efficient and respectful clean-out.
This pre-planning stage is about more than just logistics; it’s a period of preparation that balances legal, emotional, and practical considerations. It sets the tone for the entire clean-out process, ensuring that when the time comes to start sorting and disposing of items, you’re ready both mentally and legally.
Initial Sorting: 1-2 Months Before
As the estate clean-out date approaches, the initial sorting phase becomes your focus. This stage is about categorizing items and deciding their fate in a more detailed manner than the broad strokes discussed in pre-planning.
Creating a System for Sorting
Develop a clear, simple system for sorting items. This can involve labeling categories such as “Keep,” “Sell,” “Donate,” and “Dispose.” Use colored stickers or tags to make the process visual and straightforward for everyone involved.
Prioritizing Rooms and Items
Start with the least sentimental items to ease into the process gradually. Prioritizing rooms or items that hold less emotional weight can help build momentum and make decisions easier as you progress to more challenging areas.
Involving Family Members
Invite family members and close friends to participate in the sorting process. This not only helps distribute the workload but also ensures that items of sentimental value are identified and preserved according to the family’s wishes.
Making Decisions on Large Items
Furniture and other large items should be assessed early in the sorting process. Decide whether to keep, sell, or donate these items, as they will require more effort to move and can significantly impact the space available for sorting other belongings.
Securing Important Documents and Valuables
During sorting, it’s crucial to keep an eye out for important documents, jewelry, and other valuables. These items should be secured in a safe location and categorized separately from general household items.
Dealing with Digital Assets
Don’t overlook digital assets such as photographs stored on computers or online accounts. Make plans for transferring, storing, or deleting these assets according to the family’s preferences and legal requirements.
This phase is labor-intensive but essential for managing the volume of items in an estate. It’s also a time for discovery, often revealing forgotten treasures and memories. By approaching this stage with a systematic and sensitive approach, you can honor the memory of the departed while making practical decisions about their belongings.
Valuation and Selling: 3-4 Weeks Before
With the initial sorting complete, focus shifts to valuing and selling items that won’t be kept within the family. This stage is critical for maximizing the financial return of the estate while ensuring items find new homes where they’ll be appreciated.
Appraising Valuable Items
Identify items that may have significant value, such as antiques, art, jewelry, and collectibles. Hiring a professional appraiser can ensure you accurately price these items, preventing potential losses from underestimating their worth.
Choosing the Right Platforms for Sale
Different items may sell better on different platforms. Consider online marketplaces, auction houses, estate sale companies, or consignment shops based on the type of items you’re selling. Each platform has its strengths, whether you’re dealing with unique collectibles or everyday furniture.
Organizing an Estate Sale
If selling multiple items, an estate sale can be an efficient solution. Planning involves advertising the sale, organizing items attractively, and possibly hiring a professional estate sale company to manage the event. This can also be an opportunity for community members to find treasures and for items to find new homes locally.
Donating Unsold Items
Not all items will sell, and some may be better suited for donation. Research local charities, libraries, schools, or thrift stores that may benefit from these items. Donating can be a way to honor the memory of the departed by supporting causes they cared about.
Managing Unsold Items
For items that neither sell nor are suitable for donation, consider responsible disposal options. Junk removal services such as Lug Out Junk Removal can handle large items, while recycling centers may take various household goods.
This phase is not just about parting with belongings but about finding new homes for them where they can continue to be valued and used. It’s a balance between financial practicality and respectful disposition of the departed’s items.
Donations and Disposal: 2 Weeks Before
This phase focuses on responsibly removing items from the property, ensuring they are either donated to those in need or disposed of in an environmentally friendly manner.
Finalizing Donations
- Identifying Donation Centers: Research local charities and organizations that accept donations. Be mindful of their specific needs and donation guidelines to ensure your contributions are useful.
- Scheduling Donation Pick-ups: Many organizations offer pick-up services for larger donations. Schedule these in advance to ensure items are removed in a timely manner.
- Documenting Donations: For valuable donations, obtaining receipts can be beneficial for tax deduction purposes. Ensure all paperwork is completed and stored safely.
Responsible Disposal
- Hazardous Waste: Properly dispose of hazardous materials such as paints, chemicals, and batteries by contacting your local waste management services for guidance on safe disposal options.
- Recycling: Maximize recycling efforts by separating recyclable materials and using local recycling facilities. This reduces landfill waste and supports environmental sustainability.
- Junk Removal Services: For items that cannot be donated or recycled, hiring a professional junk removal service like Lug Out Junk Removal can ensure that everything is disposed of properly and efficiently.
Final Walk-through
- Checking All Spaces: Conduct a thorough final walk-through of the property to ensure no items are overlooked. Check attics, basements, closets, and other storage areas one last time.
- Cleaning the Property: Once all items have been removed, a final cleaning of the property is essential. This not only prepares the home for sale or transfer but also honors the memory of the departed by respectfully maintaining their living spaces.
This stage is about finalizing the physical clean-out process, ensuring that the property is cleared respectfully and responsibly. It represents the culmination of weeks of hard work, providing a sense of closure and readiness for the next steps, whether that’s selling the property or passing it on to heirs.
Final Clean-Out: 1 Week Before
As the estate clean-out nears completion, the final week is critical for ensuring that every detail is addressed, leaving the property in the best possible condition for its next chapter.
Last-Minute Sorting and Removal
- Revisit Sorted Items: Double-check that all items have been correctly sorted, and nothing has been overlooked. It’s not uncommon to discover items that were missed or require re-evaluation.
- Dispose of Remaining Debris: Ensure any remaining debris or unwanted items are removed from the property. This may include broken items, non-recyclable materials, and general waste.
Property Repairs and Maintenance
- Minor Repairs: Address any minor repairs that can improve the appearance and functionality of the property. This could include fixing leaky faucets, patching holes in walls, and replacing light bulbs.
- Maintenance Tasks: Perform general maintenance tasks such as mowing the lawn, trimming hedges, and ensuring the exterior of the property is presentable. First impressions are crucial, especially if the property is going to be sold.
Deep Cleaning
- Hire Professional Cleaners: Consider hiring professional cleaners to perform a deep clean of the property. This ensures that every room, including kitchens and bathrooms, is thoroughly cleaned and ready for new occupants.
- Window Cleaning: Clean windows both inside and out to enhance natural light and improve the overall appearance of the property.
- Carpet and Flooring: Clean carpets, floors, and other surfaces to remove dust, stains, and odors, giving the property a fresh and inviting atmosphere.
Final Walk-through and Documentation
- Conduct a Final Walk-through: Walk through the property one last time to ensure that everything is in order. This is also an opportunity to reflect on the work completed and ensure no area has been missed.
- Document the Property’s Condition: Take photographs of the property’s interior and exterior. This documentation can be useful for future reference, especially if the property is being prepared for sale.
Locking Up and Security
- Secure the Property: Ensure that all doors and windows are locked and that the property is secure. If the property will remain vacant for some time, consider installing timers on lights to give the impression of occupancy.
- Leave Contact Information: If the property is being transferred to new owners or remaining vacant, leave contact information in a visible place for utility companies, future occupants, or emergency contacts.
This final clean-out phase is about attention to detail and ensuring the property reflects the respect and care taken throughout the estate clean-out process. It marks the end of a significant chapter and the beginning of a new one for both the property and those involved in the clean-out.
Conclusion
Estate clean-outs are more than just a physical task; they are a journey through memories, emotions, and sometimes unexpected discoveries. By following a structured timeline, from pre-planning to the final clean-out, individuals and families can navigate this challenging process with greater ease and efficiency. Remember, the goal is not only to clear a space but to honor the memory of loved ones by handling their belongings with care and respect. Whether items are kept, sold, donated, or respectfully disposed of, each decision is a step towards closure and moving forward.
FAQs
Q: How long should an estate clean-out take? A: The duration of an estate clean-out varies depending on the size of the estate, the volume of items, and the number of people involved in the process. A structured timeline, as outlined in this guide, typically spans 3-6 months from pre-planning to the final clean-out.
Q: Can I hold an estate sale by myself, or should I hire professionals? A: While it’s possible to hold an estate sale on your own, hiring professionals can alleviate the burden, especially during a time of grief. Estate sale companies bring expertise in pricing, marketing, and managing the sale, making the process more efficient and potentially more profitable.
Q: What should I do with items that don’t sell during an estate sale? A: Unsold items can be donated to charity, offered to family and friends, or, as a last resort, responsibly disposed of. Consideration should be given to the potential value and usefulness of the items to others.
Q: How can I ensure I’m respecting the environment during the clean-out? A: Focus on donating and recycling as much as possible to minimize waste. For items that must be disposed of, use local recycling centers and hazardous waste disposal services to ensure environmentally responsible practices.
Q: What is the best way to handle sentimental items during an estate clean-out? A: Sentimental items deserve special consideration. Involve family members in the decision-making process and consider creating a memory box or digital photo album to preserve the memories without keeping every physical item.
About the Author
Todd, owner of Lug Out Junk Removal is a seasoned expert in the junk removal industry, with a focus on estate clean-outs. His approach combines efficiency with empathy, recognizing the emotional weight these tasks carry. Dedicated to ‘smart disposal,’ Todd champions environmental sustainability and exceptional customer service in every project.
